Showing posts with label tut. Show all posts

Thursday, July 18, 2013

CONvergence & Costuming

I went to a local science fiction convention (CONvergence) and it was awesome! There were loads of amazing costumes, lots of people, and a great time to be had. I recommend you to check it out, it's an incredible experience! 

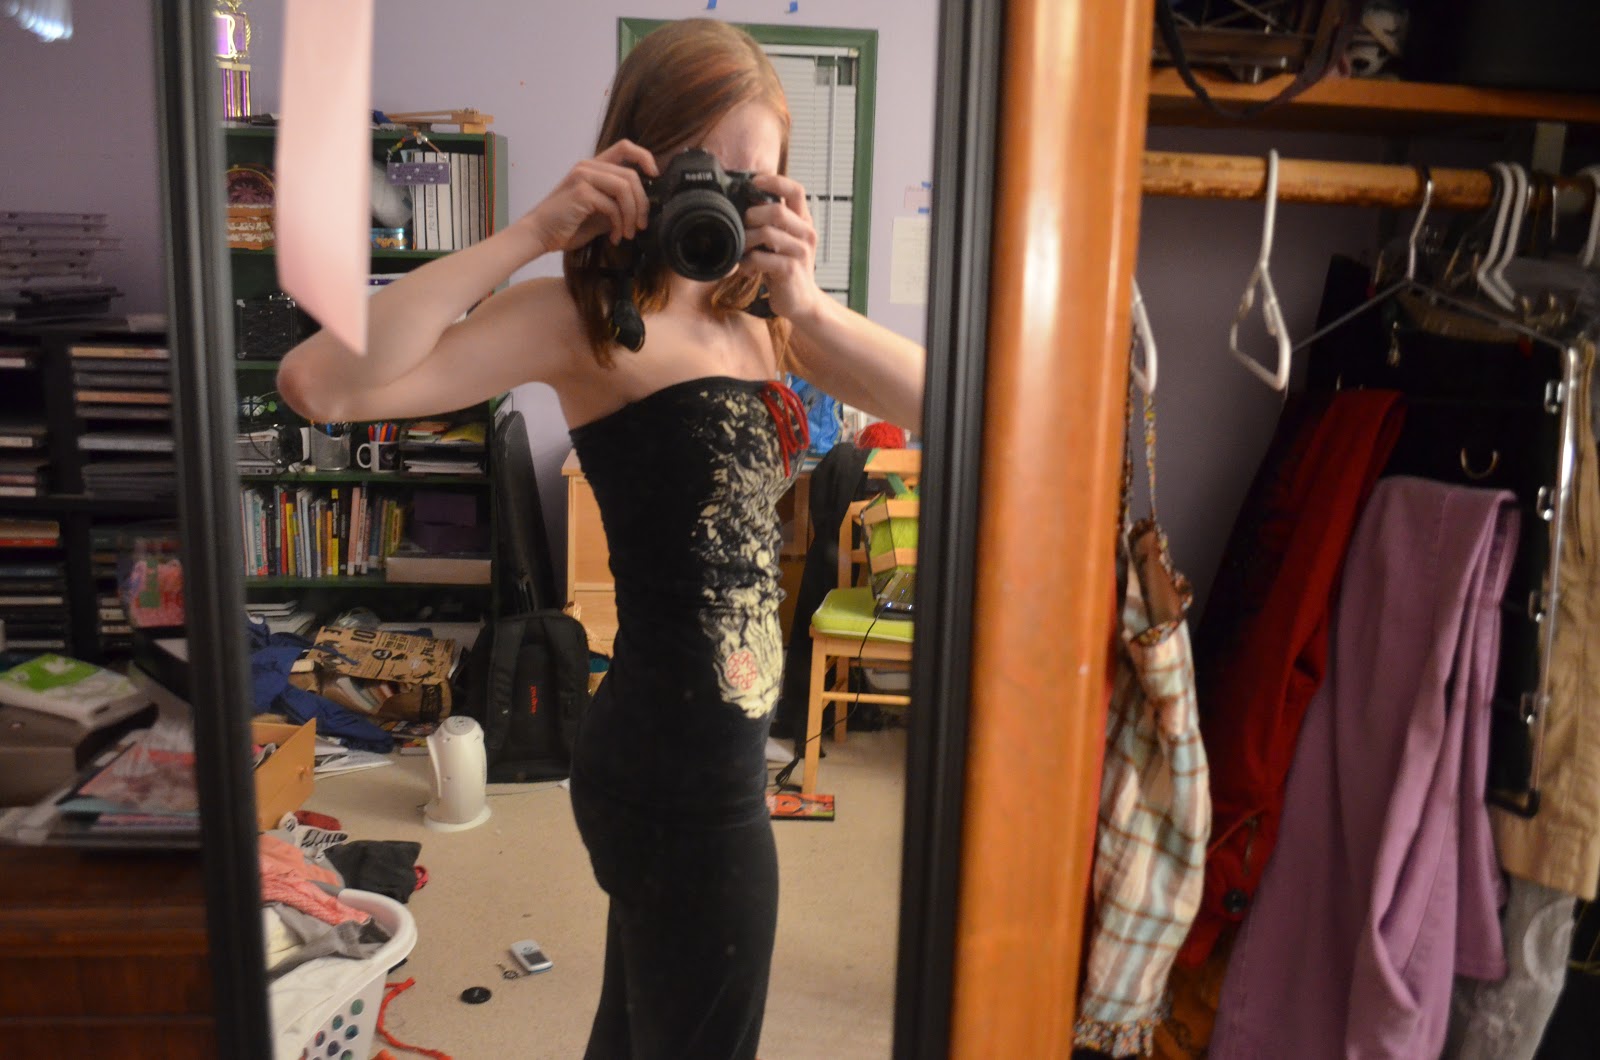
I decided to dress up like Babydoll from the movie Sucker Punch. I made my costume myself, which took almost 20 hours all together. I didn't take pictures during the process because it was about two days before Con and I needed to hurry. However, I took a few while I was wearing it that night. (I apologize for the mirror selfies, but I wanted to share these with you.)

Full costume (minus the extremely uncomfortable shoes)

Close up

What do you think? I altered a pattern for the top and used a basic tutorial for the skirt. I based it on this video's instructions but changed a few things to make it more simple. If you have any questions, let me know in the comments. I'm thinking of making another pleated skirt, so I might do a tutorial on that. 

Oh, and one last thing... If you're a geek like me, OWN IT!

<3


Monday, January 14, 2013

Tube Top Tutorial

Hey guys! 

Sorry I haven't been posting lately, I got really busy with the end of the semester. So now that I have some free time, I decided to make a tutorial for you guys. In this tut, I will show you how to make a tube top from a T-shirt. Now, the T-shirt should be a size or two larger than your normal size, because if it's not, it could end up being too tight, which would be a shame.

Ok, here goes!

Take one T-shirt, a size or two too big for you and lay it flat, making sure all the wrinkles are out.

Mark two straight lines from the very top to the bottom, just outside of the arm seams. It's hard to tell in my picture, but I used tape to make it more visible.

Now cut along the line you marked.
And you're left with...

This! Tada!

Now mark a straight line across the top, just below the collar, getting as close to it as possible without actually touching it.

Snip snip snip!

Flip the two pieces and line them up, right sides together. MAKE SURE THEY LINE UP NICELY, OTHERWISE THE TOP COULD GET OUTTA WHACK.

Pin and..

Sew up the sides.

Flip it right-side-out

Fold over the top for a drawstring.

Like so, and pin...

Ok, this pic is a little confusing, but basically it means mark the center front and leave a space for the tie. Use a zig zag stitch, as this has more give and allows it to stretch a bit when you put it on.

This is just showing the space to leave open. Mine is actually a little bigger than necessary, I would suggest making it maybe to finger widths wide instead of the three that I did.

Make/find your drawstring. I used strips of a red T-Shirt to accent the words on my shirt.

 I'm assuming here that you guys know how to put in a drawstring, just push it through the tube you made by folding over the top.

Tie your drawstring and TADA you're finished.

Here is me wearing the completed piece! (ignore the messy room please)
Front

Side

Other Side

Thanks guys! If you do use this tutorial, please post your finished pictures in the comments, or if you have questions, ask away. Stay fabulous!

<3